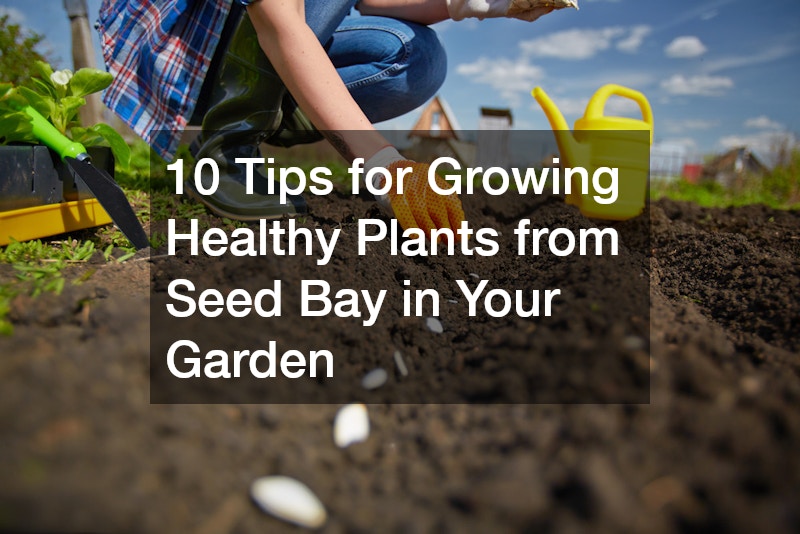
Starting your garden from seed can be an incredibly rewarding and fulfilling experience. It allows you to select from a much broader range of plant varieties and gives you complete control over every stage of the growth process. In this beginner-friendly guide, we’ll explore essential tips to help you grow healthy, resilient plants from seeds, making sure your gardening efforts add long-term beauty and value to your outdoor space.
By using proven techniques practiced by professional landscaping contractors and taking suggestions from experienced backyard designers, you can create the ideal environment where your seeds will flourish. Today, we’ll walk you through ten detailed and practical tips, covering everything from the right time to start seeds to pest control strategies and proper transplanting methods. With these expert-backed insights, your home garden can become a lush, thriving oasis similar to those designed by top paving contractors and mulch supply professionals in your area.
Starting seeds successfully requires some patience, the right tools, and a bit of early planning. Thankfully, with support from reliable local contractor services and practical know-how, the entire process becomes much more manageable and enjoyable. Let’s dive into these straightforward steps, giving you the confidence and skills needed to raise healthy plants from seed to harvest with care and consistency.
1. What is the best time to start seeds indoors?

Timing is key when it comes to starting seeds, influencing the growth and health of your plants. Generally, seeds should be started indoors 6 to 10 weeks before the last expected frost date in your area. Knowing this timeline helps plan subsequent phases, such as watering, using the best techniques derived from commercial electrical services, and other similar domains to ensure optimal results.
The decision to start seeds indoors also depends on the plant species, as different seeds have varying requirements. Hardy types may thrive earlier, while tender plants require warmer conditions. Collaborating with fence companies and local well drilling experts might offer practical insights into the unique conditions of your region, including soil moisture and microclimate factors.
It’s vital to research the specific needs of each plant variety and tailor your approach accordingly. Backyard designers often create schedules to plan sowing times, helping gardeners anticipate weather changes and plant readiness. By integrating knowledge from these experts, your seed starting efforts are more likely to succeed, adding flair and vibrancy to your garden space throughout the growing season.
2. How do I prepare soil for seeds?
Healthy soil is the cornerstone of thriving plants, making its preparation a crucial step in the gardening process. The soil should be nutrient-rich and well-draining to support seedlings. Companies specializing in mulch supply can assist in amending soil with organic matter, providing essential nutrients, and enhancing its texture. Compost, aged manure, and leaf mold are all excellent organic materials that improve soil fertility and moisture retention, which are essential for seedling development.
Start by testing the soil pH, which ideally ranges from 6.0 to 7.0 for most seeds. Adjustments might be needed depending on the test results, typically through the addition of lime to increase pH or sulfur to decrease it. Collaborating with local contractors can help ensure soil readiness, borrowing expertise similar to what’s used by fence companies to set foundations. These professionals often possess knowledge of terrain stability and soil conditions that can be valuable for home gardeners seeking long-term results.
Once pH is balanced, focus on aeration to enable roots easier access to air and water. Numerous gardening tools can facilitate this process, mimicking techniques used by landscaping contractors. Raised beds, broadforks, or even core aerators can break up compacted earth and allow seedlings to thrive. With adequately prepared soil, your seeds will have a sturdy start, leading to lush, vibrant growth that transforms your outdoor space into a flourishing oasis.
3. What are the essential tools for seed starting?
Having the right tools is integral to successful seed starting, ensuring each phase of growth is supported. A minimum required toolkit includes seed trays, labels, and a hand mister for maintaining moisture levels. These simple tools are pivotal, just as commercial electrical services are indispensable in managing larger projects where precision and proper equipment are non-negotiable.
You’ll also need grow lights to supplement natural sunlight, especially in less sunny climates. Focus on full-spectrum LED lights, which offer balanced lighting akin to the sun, supporting photosynthesis and fostering strong early growth. This is similar to using stamped concrete to create supportive structures: it ensures stability, consistency, and long-term performance even under challenging conditions.
Beyond the basics, a small fan is useful to simulate outdoor breezes. This gentle airflow helps strengthen seedlings’ stems, minimizing the risk of damping-off diseases and promoting healthier development. Additionally, a seedling heat mat can be beneficial in maintaining optimal soil temperatures, particularly in cooler environments. Incorporating these tools, with insights borrowed from backyard designers and seasoned building contractors, creates the ideal conditions for successful seedling growth and a productive garden season.
4. How do I properly plant seeds?

The planting technique has a lasting impact on seedling health, necessitating careful execution. Start by planting seeds at the depth recommended on seed packets, ensuring they aren’t buried too deeply or left exposed. This step is comparable to how local paving contractors lay foundations—precise depth and placement directly influence the stability and success of what grows above. An incorrect planting depth can lead to delayed germination or weak seedling emergence.
Once planted, gently mist the soil with water to ensure even moisture distribution. The soil should remain moist but not saturated to prevent root rot or fungal issues. Drawing from well drilling techniques, gardeners can adopt efficient watering methods that regulate moisture levels based on depth, similar to how water tables are managed underground. Using bottom-watering trays can also promote healthier root development by encouraging roots to grow downward.
Label each seed tray with plant names and planting dates for easy tracking. This organizational step helps manage germination timeframes and stagger planting schedules, much like project oversight in dumpster rentals or other industries that rely on accurate timing and resource management. For larger operations, spreadsheet tracking or garden planning apps may enhance coordination. Proper planting not only ensures that seeds get the start they need but also establishes a framework for continued healthy development, aligning your gardening process with structured, professional-grade standards.
5. How can I ensure proper lighting for seedlings?
Sufficient lighting is crucial for seedlings, with intensity and duration playing key roles in plant health. Placing trays in a well-lit area, away from direct heat sources, optimizes light consumption while preventing temperature stress. This thoughtful positioning mirrors how fence companies design and install structures to endure sun exposure, wind, and other environmental factors, ensuring longevity and performance.
Grow lights can supplement natural light, with most seedlings requiring 12–16 hours of light daily for optimal growth. LED grow lights are preferable due to their energy efficiency and ability to emit a full spectrum of light that supports photosynthesis without generating excessive heat. Techniques from commercial electrical services—such as safe wiring, timer installation, and load balancing—can prove valuable when configuring lighting setups to meet your plants’ evolving needs.
Adjusting the light distance from seedlings is imperative to prevent scorching or leggy growth. Ideally, lights should be positioned 3–4 inches above the seedlings and raised gradually as the plants grow. Overexposure or underexposure can both be detrimental, so frequent monitoring is essential. Just as landscaping professionals adjust light and shade conditions to enhance plant life in outdoor environments, managing indoor light conditions ensures a strong, healthy start for your seedlings. By applying these principles, you’ll foster a resilient foundation for your garden from seed tray to soil.
6. What are the ideal watering techniques?
Watering is an art in gardening, requiring precision to avoid over-saturation or dryness. Seedlings require consistent moisture, but excess water can lead to fungal issues. Observing moisture levels in topsoil aids in determining water needs, a practice familiar in landscaping contractors’ work.
Bottom watering is an effective technique, allowing plant trays to absorb water through drainage holes. This method prevents waterlogging on the surface, ensuring roots access necessary moisture. The approach shares similarities with mulch supply, where water retention without saturation is the goal.
Settings can vary, with a mister often employed to provide light moisture without disturbing seedlings. Alternating these techniques prevents mildew and encourages even growth. Following these watering tips ensures seedlings flourish, ready for eventual transplantation by local contractor standards.
7. How do I handle pest control for seedlings?
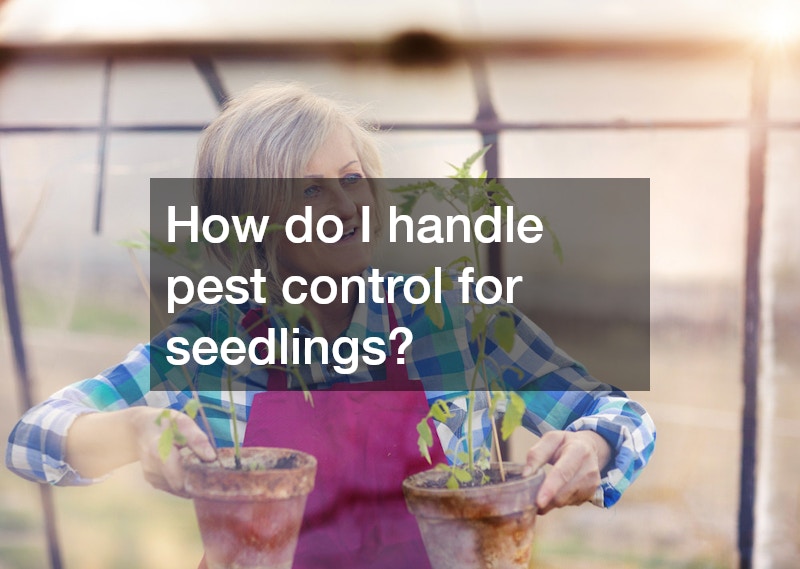
Seedlings need protection from pests, which can hinder development and growth. Begin by inspecting plants regularly, looking for signs of pest activity like holes or discoloration. Employing pest management strategies seen in fence companies’ maintenance plans helps establish preventative measures.
Introducing beneficial insects, such as ladybugs or predatory mites, can control pest populations naturally. These biological controls keep harmful insects in check, much like pest control services in larger commercial spaces. Applying organic pesticides may also be necessary for persistent infestations.
Maintaining cleanliness in your growing area, including disposing of debris and weeds, mitigates pest risks. This step parallels practices in dumpster rentals, where efficient waste disposal averts contamination. Diligence in pest management promotes healthy seedlings throughout your garden.
8. What nutrients and fertilizers should be used?
Nutrient-rich soil is vital for seedling growth, making fertilizers an essential part of plant care. Opt for liquid fertilizers, which are gentler on young roots and easily absorbed. This practice is comparable to mulch supply, ensuring soil remains nutrient-rich as seedlings grow.
Early applications can be made once seedlings develop their first true leaves. Dilution is key, preventing over-fertilization which might damage delicate roots. Understanding nutrient needs, akin to collaboration with local paving contractors, supports lush, thriving gardens.
As seedlings grow, monitor their progress and adjust fertilization as needed. Each plant has unique nutritional requirements, demanding tailored approaches for optimal growth. Integrating these practices ensures seedlings have the nutrients necessary for a healthy transition from seedling to garden.
9. How can I prevent diseases in seedlings?
Diseases in seedlings can devastate your garden plans, underscoring the importance of preventive care. Always use sterilized equipment and start with disease-free seeds for the best outcomes. These steps are akin to quality assurance in commercial electrical services, ensuring high standards from the start.
Good air circulation is crucial, with fans or open spaces helping prevent mold growth on soil surfaces. They emulate conditions seen in well-ventilated buildings managed by backyard designers and local contractors. Maintain consistent observation, promptly removing any affected plants.
Practices like crop rotation and keeping plants spaced adequately are beneficial. These techniques reduce the risk of disease spread while promoting healthy growth, similar to strategic planning in large landscaping projects. Consistent disease management ensures your seedlings’ survival and robustness.
10. When and how do I transplant seedlings into a garden?
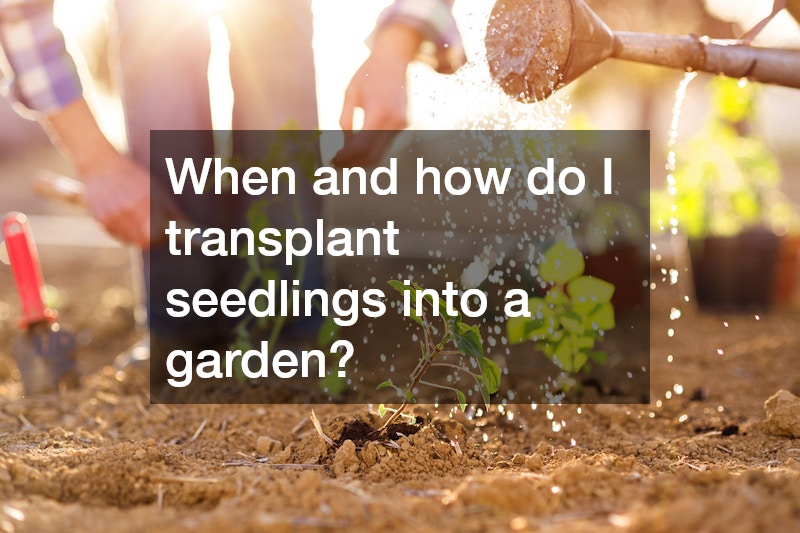
Transplanting seedlings is a milestone in gardening, requiring careful planning for success. Seedlings are typically ready for transplant when they exhibit several true leaves. This transition is akin to large-scale projects completed by local paving contractors, where timing and precision are pivotal.
Before moving seedlings outdoors, hardening off is essential. Gradually expose plants to outdoor conditions, starting with short periods in a sheltered area. This preparation resembles strategies in commercial electrical services for acclimating systems to new environments.
Plant seedlings in well-prepared garden beds, ensuring they’re settled into robust soil conditions. Adequate spacing is vital to prevent overcrowding and promote healthy growth. By following these transplanting tips, your seedlings will transform into productive plants, thriving in their new garden space.
Growing plants from seeds offers an enriching gardening experience, turning a small seed bay into a vibrant garden. By following these ten detailed tips, you’ll optimize your efforts and support strong plant development. From soil preparation to pest management, each step mirrors expert practices used in various construction and landscaping industries.
Embrace these insights, applying them to your unique gardening situation. Seek additional resources and professional advice whenever necessary, ensuring your garden prospers. With dedication and a strategic approach, honed by knowledge from fields like dumpster rentals and well drilling, your garden will flourish.
As you nurture your garden, remember the shared goals of environment and functionality. Your dedication will transform not just your garden, but also your connection to nature. Happy gardening!